Fitting a dimmer switch may seem daunting but it needn’t be. It involves switching off the power, isolating the circuit and knowing where each wire from your existing light switch should go when fitting your new dimmer. Follow our handy guide to successfully fit yours, step by step.
1. Are you confident?
Can you complete the job confidently? Before you do anything, ask yourself this question.
Important Notice: Electricity can kill so it is of paramount importance that you know exactly what to do. If you’re in any doubt, hire a professional to complete the job for you.
2. Switch off the power and isolate the electricity
Switch off the power on your consumer unit or fuse box and isolate the electricity on the circuit you’ll be working on.
On consumer units, you can use a lock-off device and padlock to ensure nobody will switch the power back on while you’re fitting your new dimmer switch.
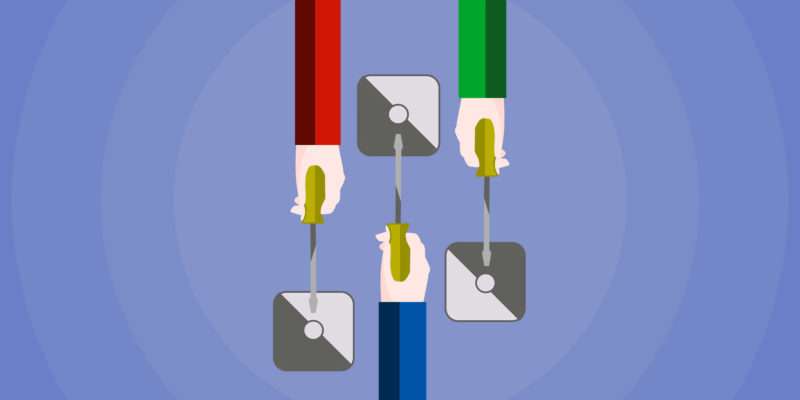
3. Unscrew your existing light switch
Use a screwdriver to remove your existing light switch from the backbox on the wall.
It’s important to make sure all wires are still left attached.
4. Check the circuit is dead
Check the circuit is dead by using a voltage tester. Use the probes to touch each of the terminals on the existing switch to check it’s safe to work with. Tests should take place as follows:
- One probe touching the earth wire and the other probe touching the top terminal.
- One probe touching the earth wire and the other probe touching the bottom terminals.
- One probe touching the top terminal and the other probe touching the bottom terminals.
If no light illuminates on the voltage tester, the circuit is dead and it’s safe to proceed.
5. Unscrew the wires (and mark them)
Use a screwdriver to remove the wires from the terminals on your existing light switch. The colour of the wires may vary but you must know where each should go on your new dimmer switch.
- Brown (or red) wire must go into C (Common)
- Grey wire must go into L2 (if black, it can go into L1 or L2)
- Black wire must go into L1 (or L2 if you have a red and black setup)
In some cases, marking them with some insulation tape or sleeving might help you distinguish them better.
6. Screw the wires into the correct terminals on your new dimmer switch
Use a screwdriver to attach the wires to the correct terminals on your new dimmer switch, following the correct wire locations outlined in step five.
Make sure all wires are firmly fixed before proceeding.
7. Screw your new dimmer switch to the backbox on the wall
Now the wires have been successfully attached, use a screwdriver to screw your new dimmer switch to the backbox on the wall.
8. Switch the power back on
Remove any locking device and/or padlock from your consumer unit and switch the circuit’s electricity back on
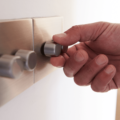
9. Test your new dimmer switch
You’ve now successfully fitted your dimmer switch. Now the power is back on, test your dimmer switch by increasing and decreasing the brightness as you see fit.
10. Other important notes
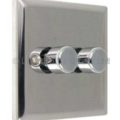
- Check the lamps on your circuit are dimmable
- Ensure your backbox is deep enough to house your new dimmer
- Metal dimmer switch plates should never be fitted to a circuit that isn’t earthed
- When purchasing a dimmer switch, check its rating
- Don’t overwork the dimmer by purchasing the maximum wattage light bulb allowed for the fixture
For further information read our guide on dimming LED lamps.
If you have any more questions or simply require further guidance, please call a member of our friendly team today on 01494 723 286. Our office hours are 09:00 to 17:00 from Monday to Friday.
Related Posts:
 Dimming for Dummies – Your Complete GuideYour Complete Guide to LED Dimming, Dimmers and Dimmable Light Bulbs. Understanding the dimming process may seem challenging, which is why we’ve...
 Using Dimmer Switches With LED Light BulbsDimmer Switches work by reducing the power delivered to your light bulb. They do this by trimming a section of a waveform, either...
 A Simple Guide To Dimming LED light bulbsUnfortunately, dimming LED light bulbs is not quite as simple as dimming halogen light bulbs unless of course you have the LIFX...
I want to change my light switch to a dimmer switch but on the back of the dimmer is L1 and L2, and on the normal switch there are 3 wires L1,L2, and L3, all red wires, so how do I connect it up
Please adhere to the instructions that came with the light switch.
Very nice connection